 The Galapagos Islands are home to one of the most unique ecosystems in the world. The islands are a hot spot for snorkeling and diving, as well as a premier destination for photographers intent on capturing the plethora of wildlife and birds that call these islands home. Individuals focused on underwater photography need underwater camera gear and the ability to snorkel and dive as part of their adventure. This photography guide however focuses strictly on land adventures.
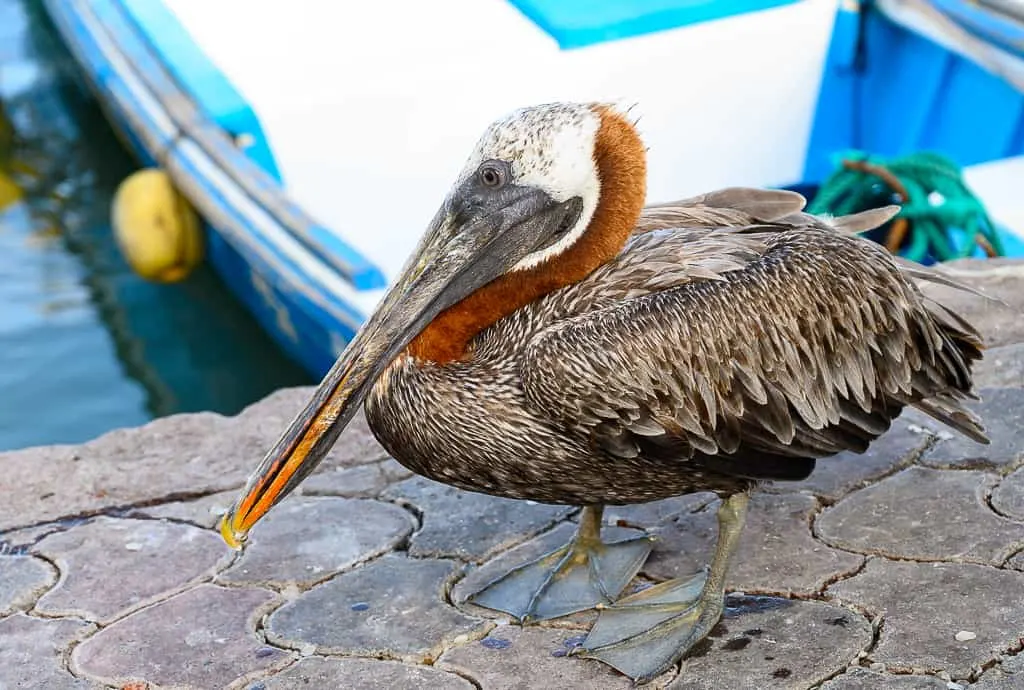
Photo by Donnie Sexton
Galapagos Two Ways
There are two ways to explore the Galapagos. Several companies offer multi-day cruises, which affords the ability to get around to more islands. Typically the ships sail during the night, leaving the day for coming ashore to explore. The other option is choosing one of the three islands that offer accommodations, then day-tripping it to nearby islands.
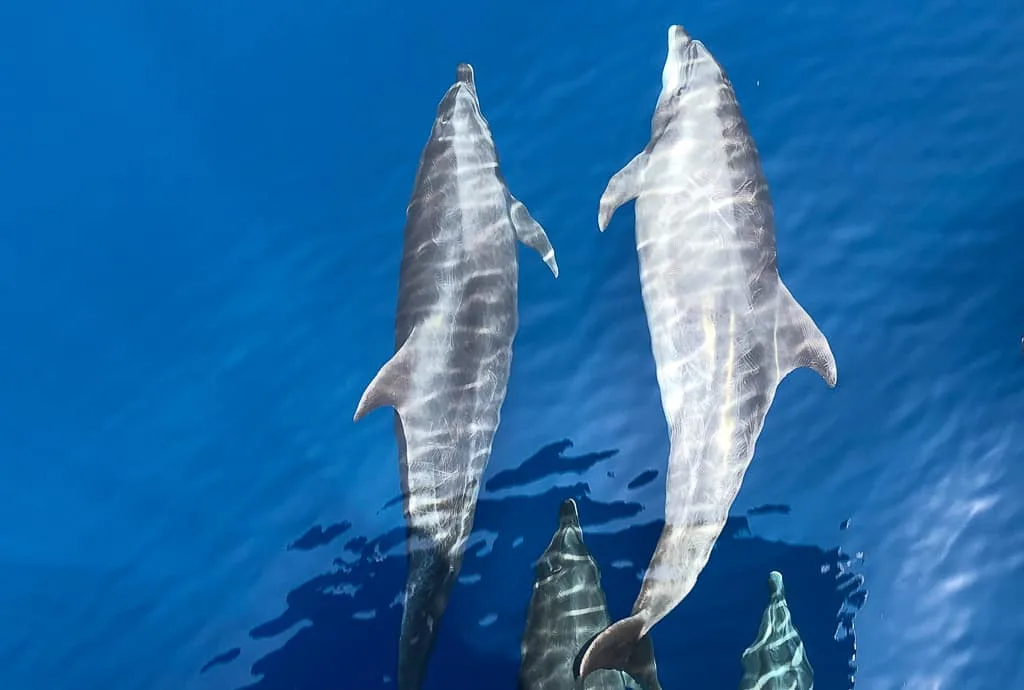
Photo by Donnie Sexton
Photography Tours
The serious photographer should select a photography specific cruise in the Galapagos. You’re traveling with like-minded individuals and with an instructor. These cruises time their visits to take advantage of the best light, meaning you’re first on the islands and the last to leave. The instructor and guide will allow more time for participants to get their shots, as well. With photography-themed sailings, once back on board, evening critiques, lectures, and instructions are generally part of the package. A well-run photography workshop will appeal to all levels of skill, from beginner to intermediate to professional.
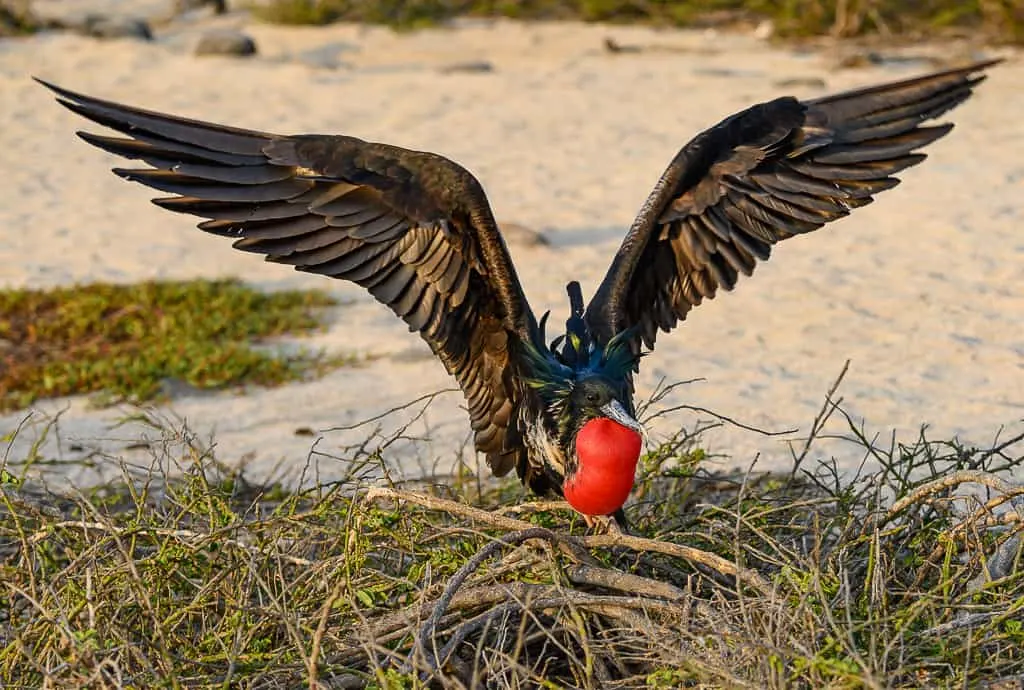
Photo by Donnie Sexton
General Tours in Galapagos
For those who cruise through the islands on a general tour, there are still plenty of opportunities to get some great photography. Park rules are strict; all groups that set foot on the islands must be accompanied by a guide/naturalist and must stay on the trails. The disadvantage is that the guide tends to keep the group moving, so the luxury of taking time to get that perfect shot isn’t there. Even with advanced cell phones, getting close up shots of the various critters isn’t difficult, as the wildlife and bird species aren’t afraid of humans and are often very close to the trails.
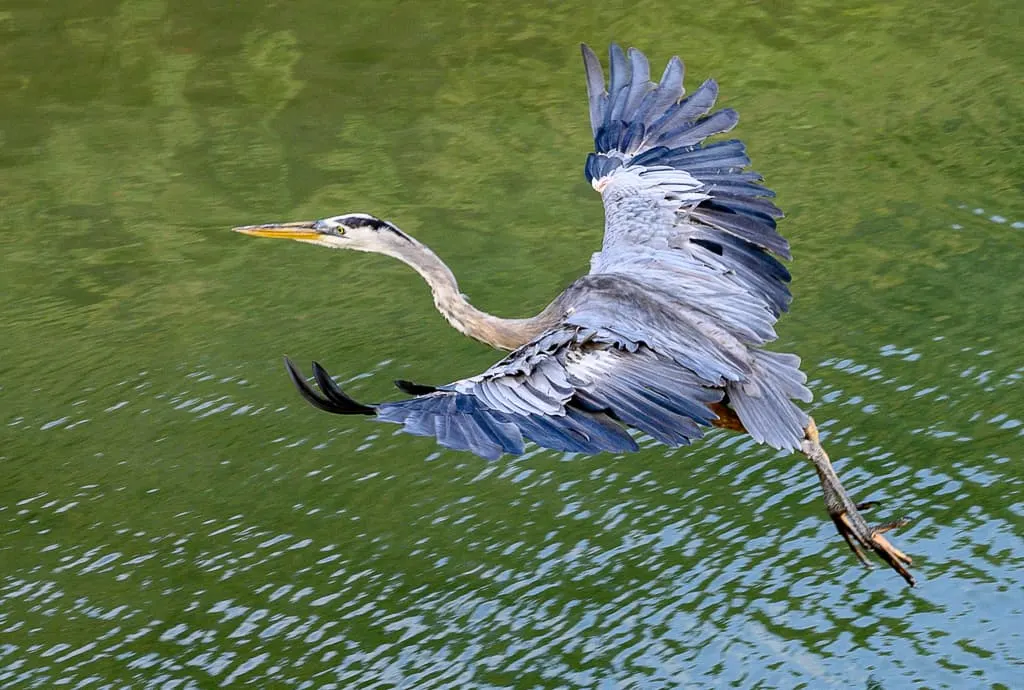
Photo by Donnie Sexton
Photography Tips on What to Bring
Camera: Camera of choice, including DSLR, mirrorless systems, or the point and shoot variety. Know your camera intimately. Bring the camera’s manual if this is a new purchase, and you’re not familiar with all of the functions. Make sure your camera’s firmware is up to date. Consider taking two cameras in the event one gets dropped, damaged, or malfunctions.
Lenses: Focal lengths ranging from 24-400mm are ideal, and can be achieved with just two lenses. A longer zoom lens (200 up to 400mm) helps isolate subjects and gains that extra reach for shots further from the trail. Park rules say to maintain six feet of distance from the wildlife. A lens in the range of 24-70mm covers both landscapes and many of the critters that are easy to shoot from the trail. A third lens could be a wide-angle 14-20mm for landscape photography.
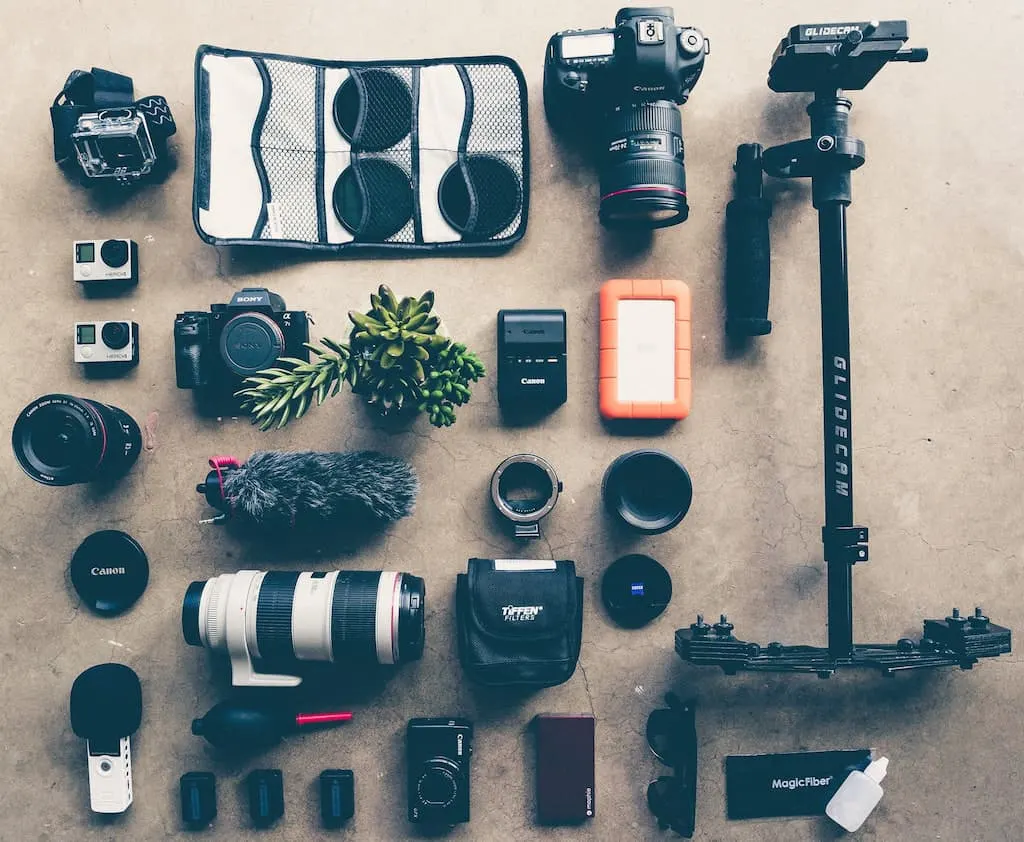
Filters: UV filter for protection on (water and sand); circular polarizer to cut down on reflections, and glare; ND filter if you plan on slow shutter speeds with the ocean/waves.
Rain cover for your camera and lens wipes.
Extra batteries and memory cards.
Laptop for downloading and reviewing your images (make sure your software is up-to-date); external hard drive for backing up images.
A decent camera backpack to transport all camera equipment is great; consider taking a second smaller backpack that is easily accessible (waist pack or sling pack) for the island hikes and walks.
A monopod is helpful – both as a walking stick and to help stabilize when using a longer lens (tripods not recommended – you may lose your shot while taking the time to set them up).
Keep in mind that with the island hikes and walks, don’t get bogged down with too much gear – carry what you can manage comfortably, especially on some of the islands where the trails are very rocky.
Photography Tips for Shooting
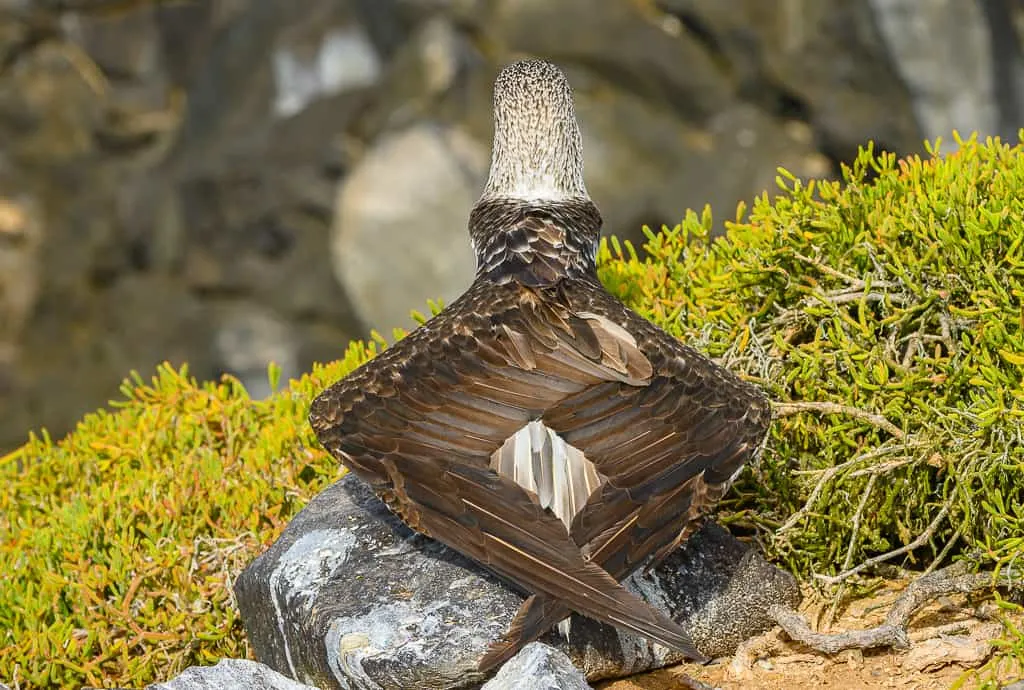
Photo by Donnie Sexton
Research the destination before you go. Look to see what wildlife and birds you might encounter and read up on their behaviors. Research existing photography, then aim to capture images beyond the shots that everyone has captured.
Change your angle – get low or even lay on the ground for a different perspective. If shooting during the middle of the day when the sun is high, and the sky is blown out, eliminate the sky from your shots. Look for critters in the shade or under cloudy skies when the sun is overhead. Stretch your creativity!
Don’t forget to add people to your shots to help give perspective on the animal’s size. And to show how humans interact with the landscape. A human standing nearby a giant tortoise paints a picture of how large these critters are.
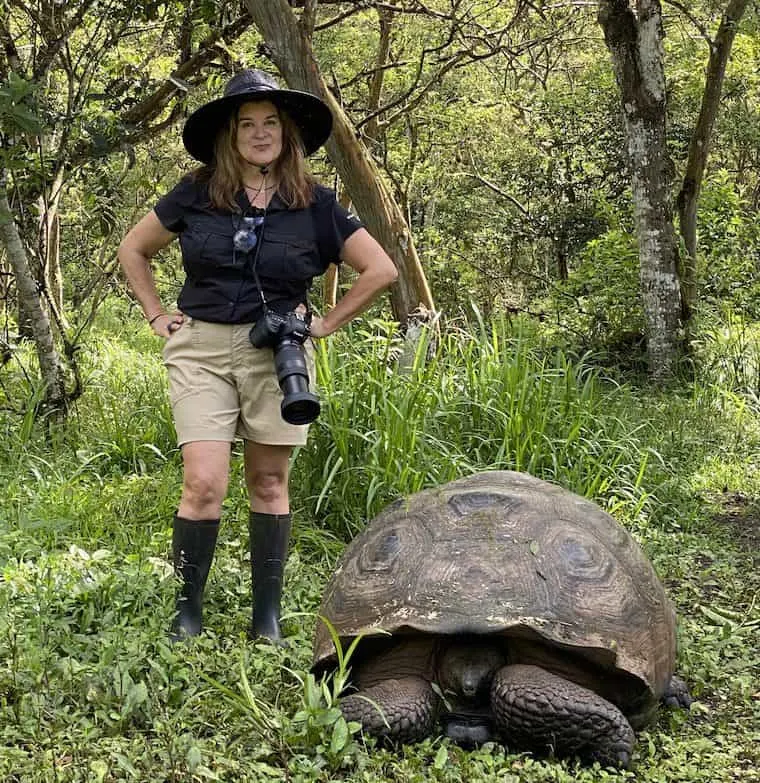
Photo by Donnie Sexton
Everyone likes to share or post photos from their trip, so think about how your images can tell a story. Selectively incorporating backgrounds helps define the environment in which you are shooting. So rather than think about a single image, consider how a group of images can tell the story of your destination.
 If you plan on captioning your images, keep good notes identifying the island and the species.
Be patient and look for the critters to be engaged in eating, mating, courtship rituals, etc. – anything beyond the textbook images. Don’t fret about taking too many shots – you can always edit and delete later.
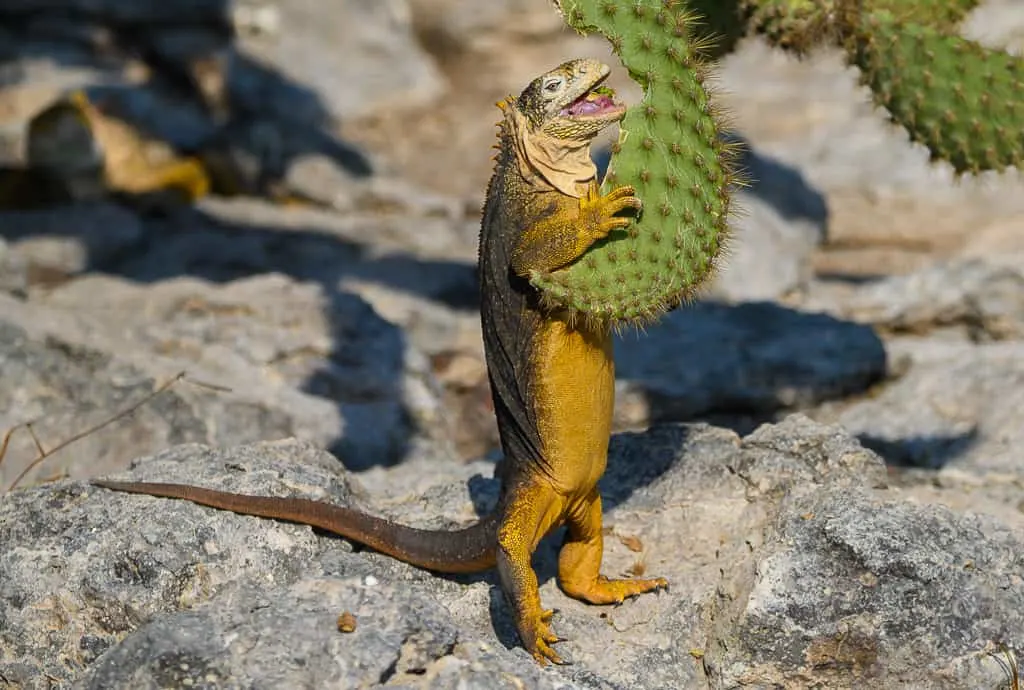
Photo by Donnie Sexton
Personal experience of my Photography
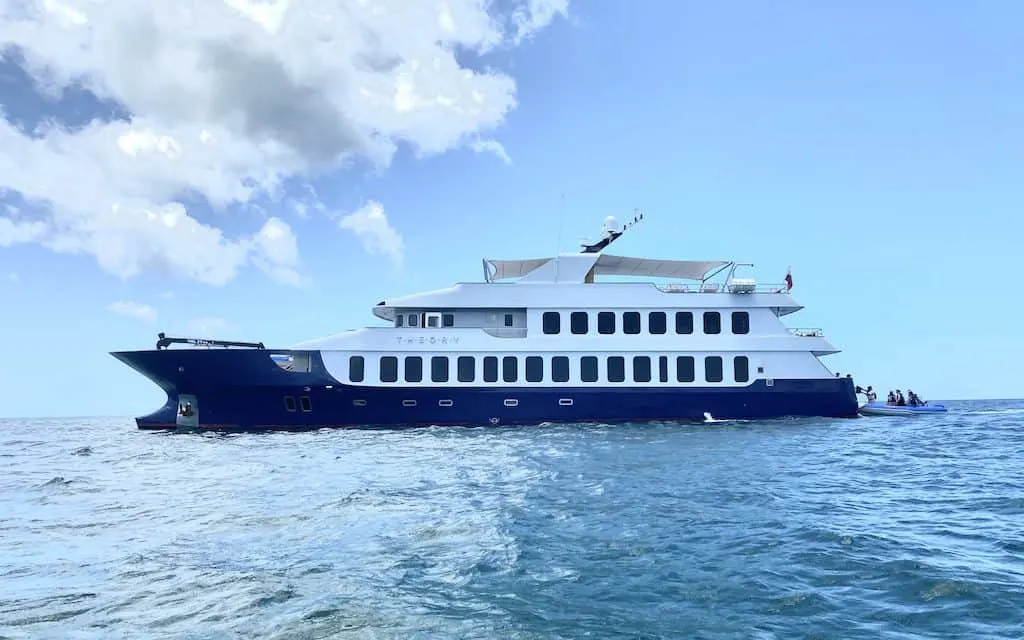
Photo by Cacinda Maloney
On my seven-day journey aboard the luxury yacht Ecoventura, I traveled with two Nikon z6 camera bodies. On one body, I had a 24-70 lens, and the second body had a 70-400 lens, thus eliminating the need to change lenses and avoid getting dirt on the sensor. I took a monopod, which doubled as a walking stick over some of the rough terrains. I was part of a general tour, so there were instances where I would have liked more time for shooting.
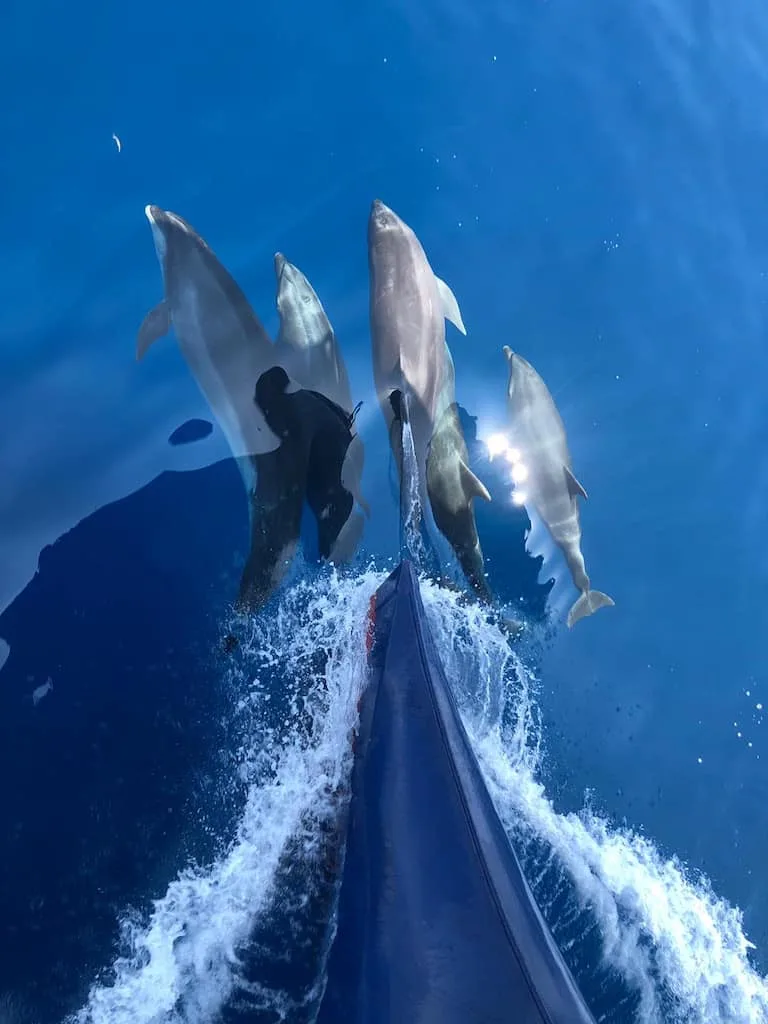
I found more opportunities to photograph on board the yacht, which included sunrise, sunset, and a school of dolphins that followed our ship for several minutes. On my next visit, I’ll definitely opt for a photo expedition given my love of photography.
Author’s Bio:
Donnie Sexton is a Montana based photographer. She spent 20 years as a staff photographer for the Montana Office of Tourism. She has reinvented herself as a travel writer and freelance photographer. She also organizes photo workshops to both domestic and international locations. You can view her work here: Donnie Sexton.
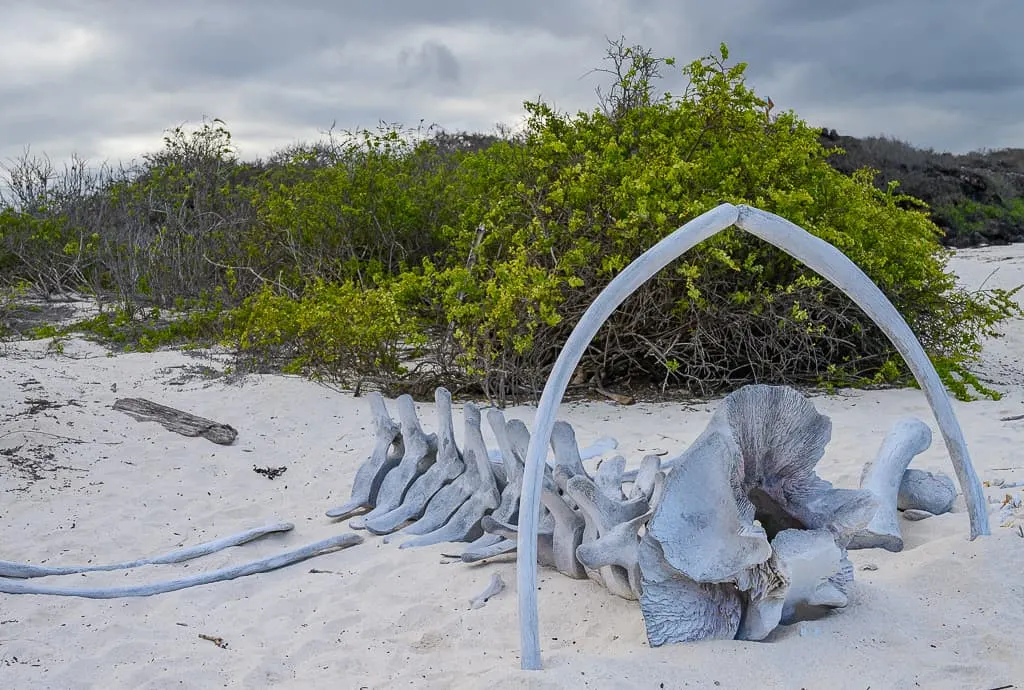
Photo by Donnie Sexton

